If you’re looking to put your home on the market, you will want to present your home in the best light to attract potential buyers. The best way to do this is to create desirable images of your property for sale. Generally, the real estate will organise these photos for you, but if it’s your responsibility to produce the images, here are five real estate photography tips that will sell your home.
1. Style the property for photos
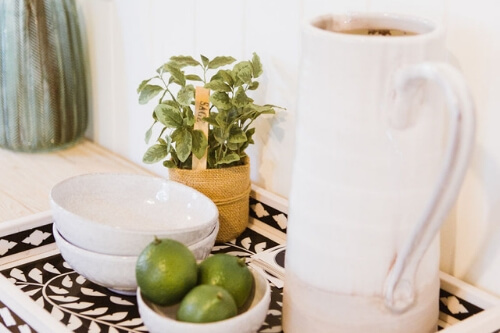
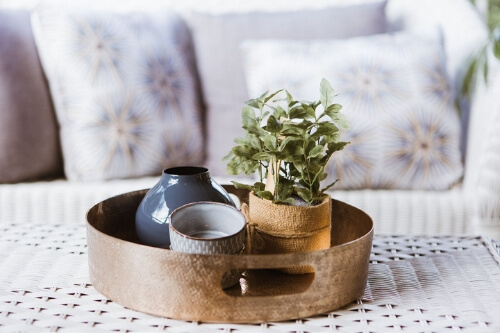
Before any photos are taken of your property, it’s important to style the home in a way that will attract attention. A property stylist can present your home impeccably to attract more buyers through the door. It’s important to understand, before a buyer sets foot in the door way, they will peruse images online. This is why it’s crucial to ensure the photos taken of your property are amazing. Your property stylist will have an eye and skill to style your home neutrally to ensure the photos you take of your home, stand out from other listings in the same suburb.
2. Use the best daylight hours for natural light
Professional photographers will usually have lighting props to get the best light for your interiors. However, for the non-professional, this equipment is expensive to purchase for a one-off shoot. The best option is to use the best daylight hours to get natural light for your photos. Always have the sunlight behind you when taking images. Consider all angles of a room and notice where light may bounce off benches and walls. The best times to take images will be in the morning. But make a note of when the sun rises and sets and how it affects the light in your home. This will be key when choosing the right time to photograph your home.
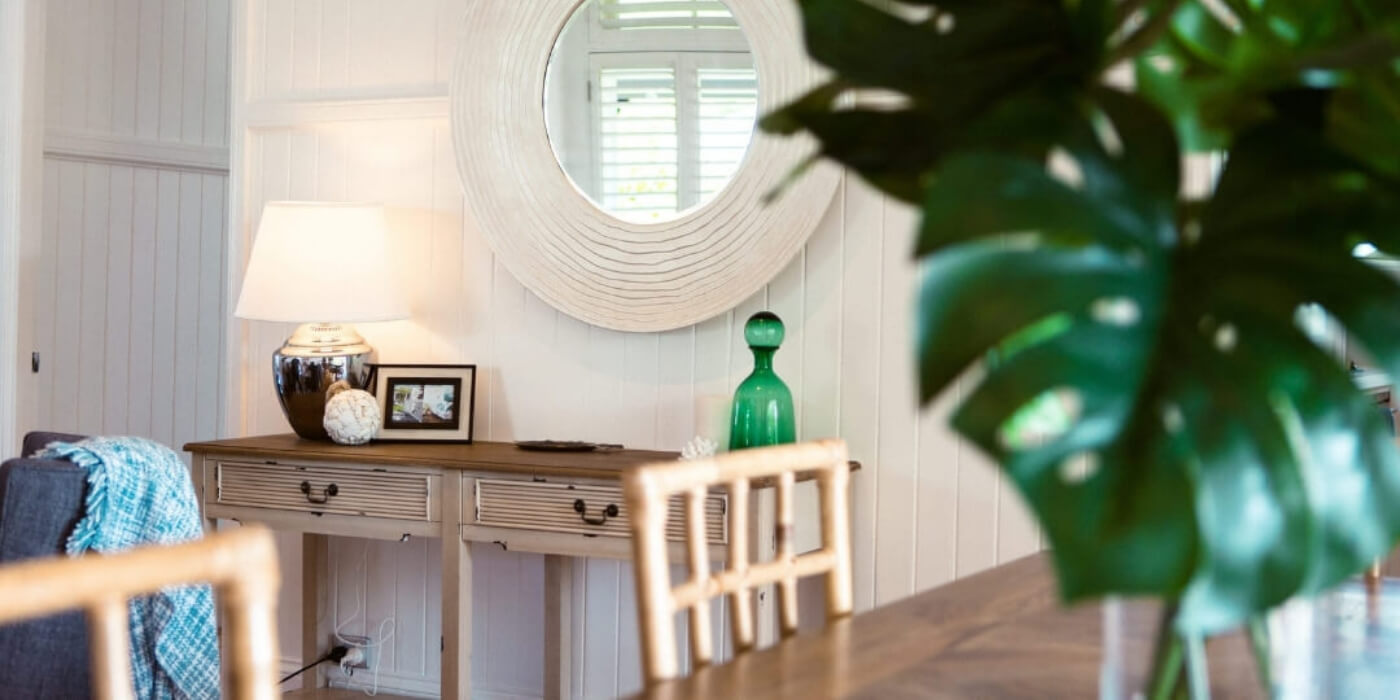
3. Shoot front on
If you peruse images of other property listings online, you will notice many of the room shots have been taken front on. When shooting each room in your home, shoot your camera front on using a normal lense. It can be tempting to use a wide angled lense to include all aspects of the room in one image. However, this can make objects closer to the camera look bigger than they are. To avoid this distortion, shoot front on with a normal lense. Also, not everything in the room has to be in the photo. Consider the best parts of the room, and include this in your photos.
4. Use a tripod
A tripod is a great tool for budding photographers when taking still shots. When taking photos in rooms with mirrors, a tripod can set the camera in a way to ensure only the room is captured in the photo, not the camera or the person taking the shot.
5. Take low shots
This tip is one that magazine editorials use all the time and will give a professional touch to your real estate photography photos. Bend down to take your photos, below eye level. This allows for the floors to be included in the image.
When it comes to taking photos of your property, enjoy the process and think like a buyer. If you were buying the property, what would you like to see in the photos?
With our real estate photography tips in hand, you will be taking property pictures like a pro in no time.